Impasto Painting Like Vincent Van Gogh

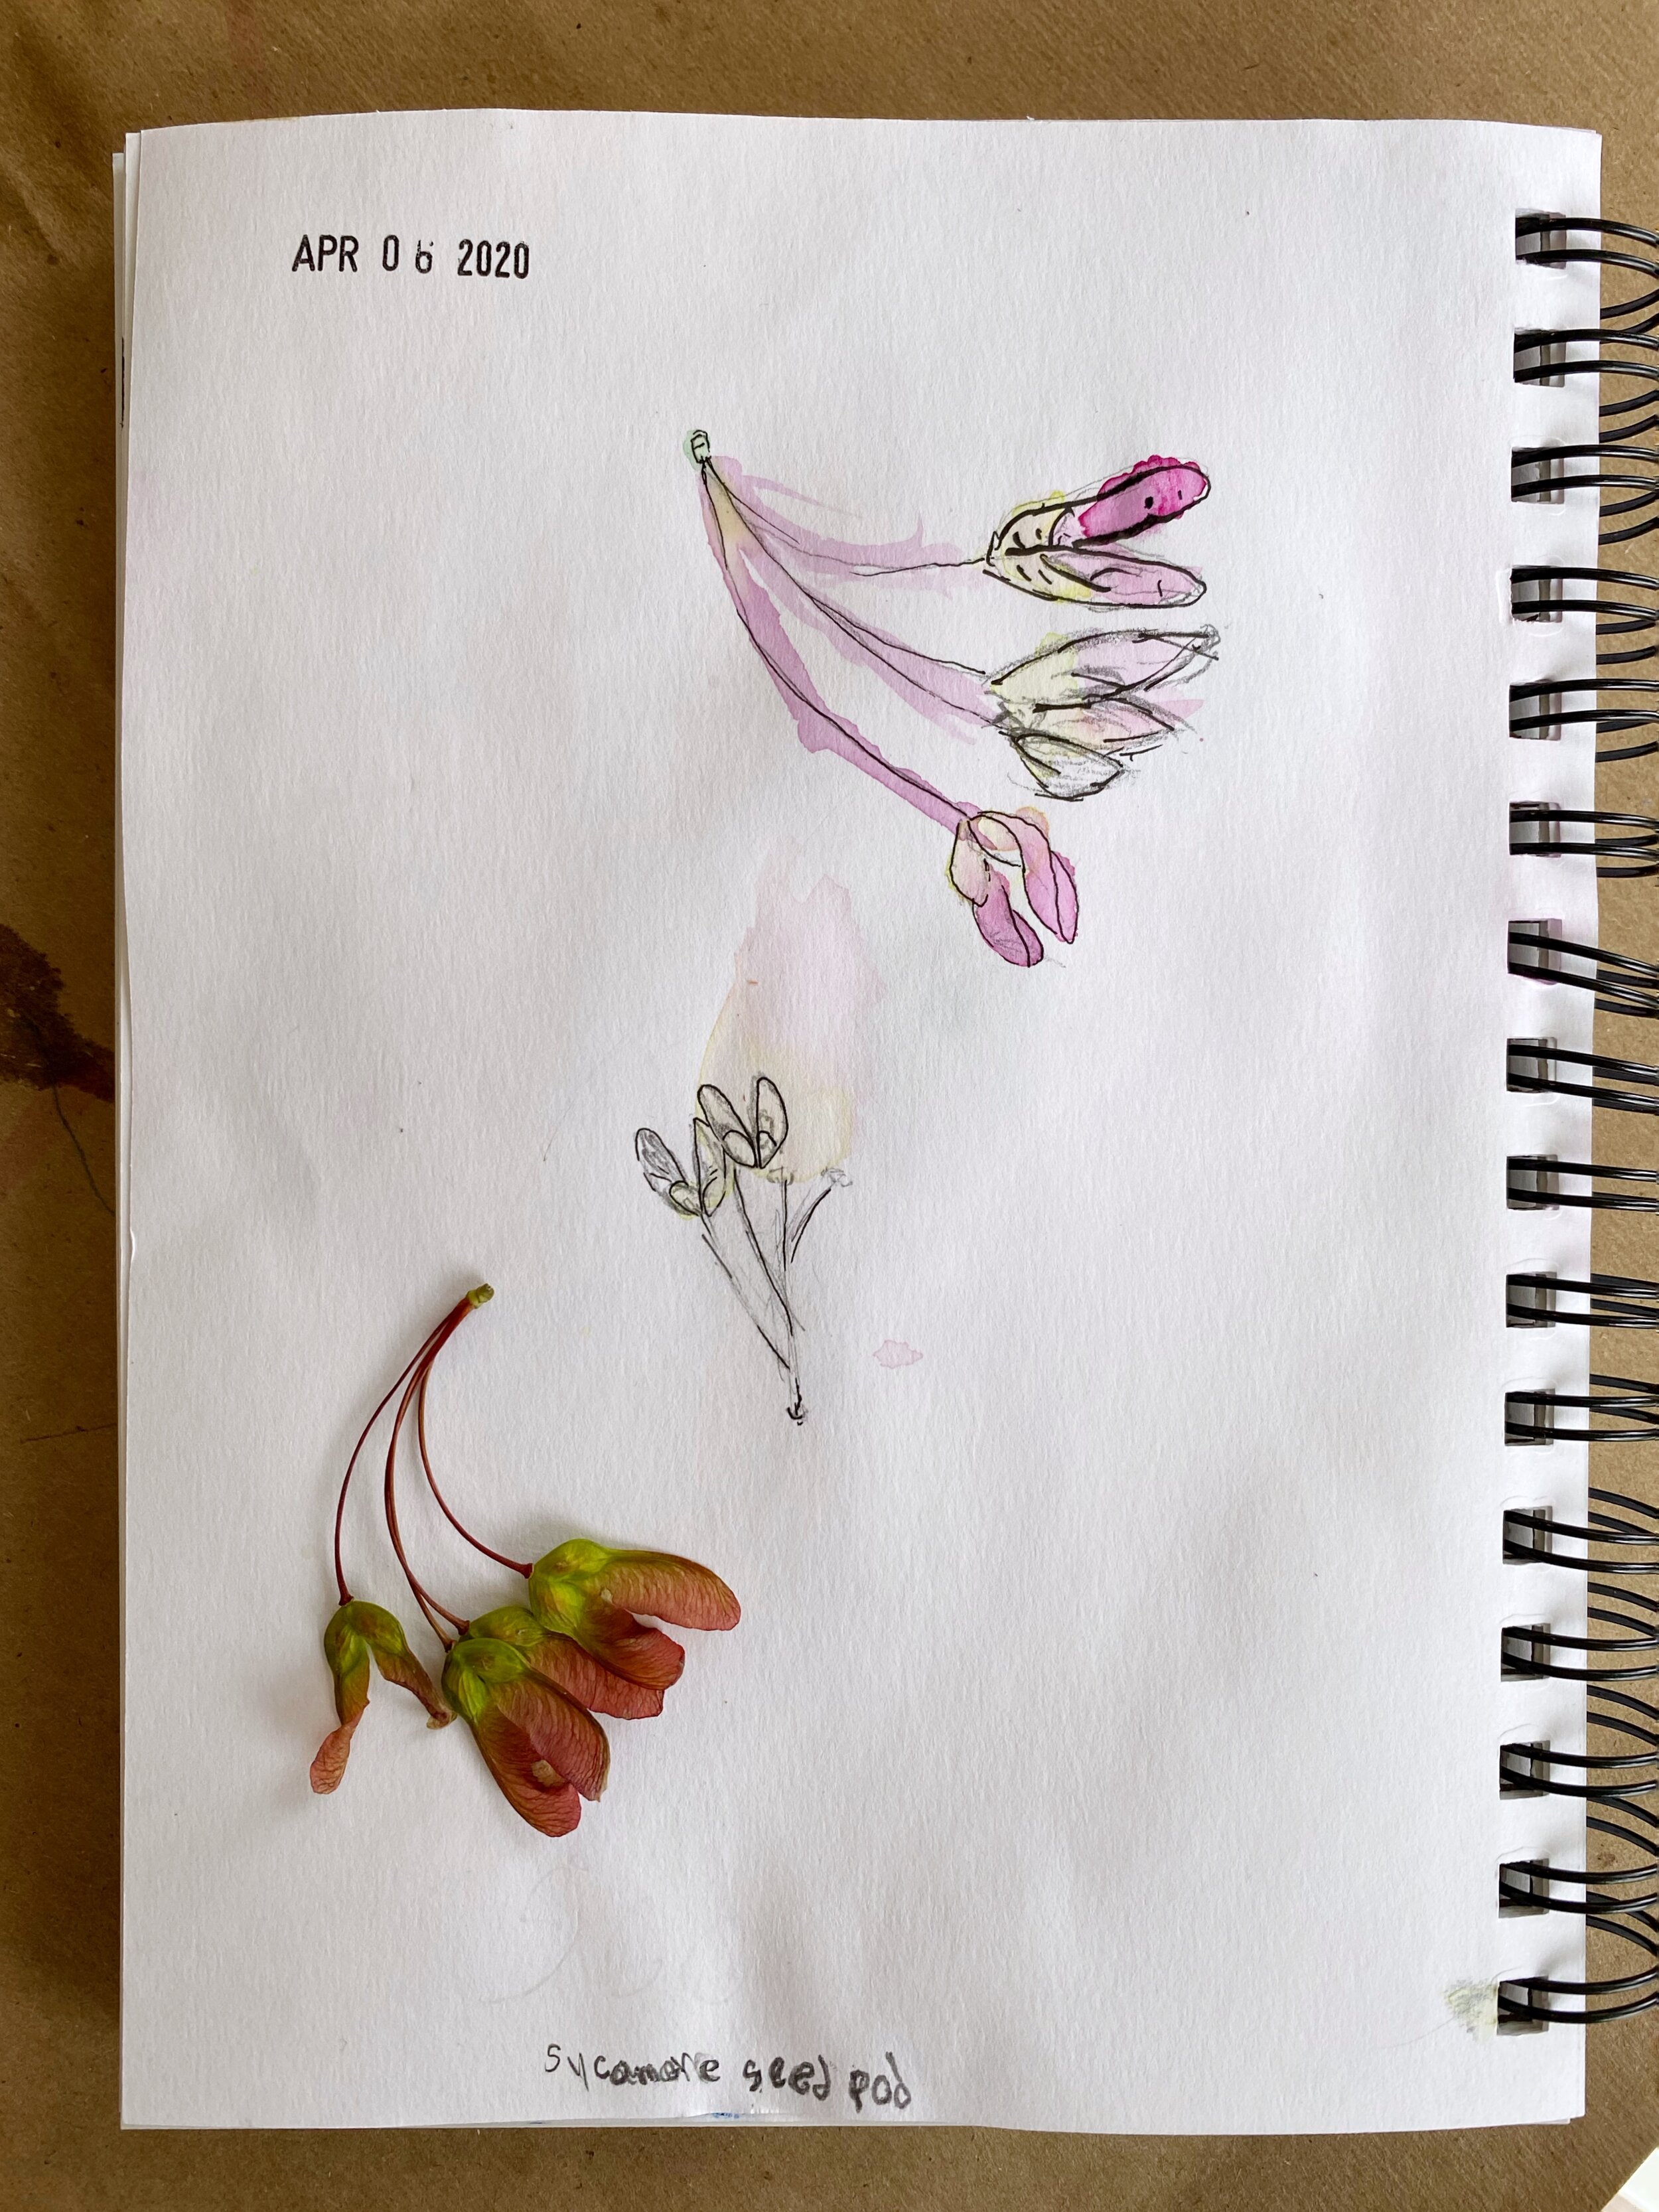
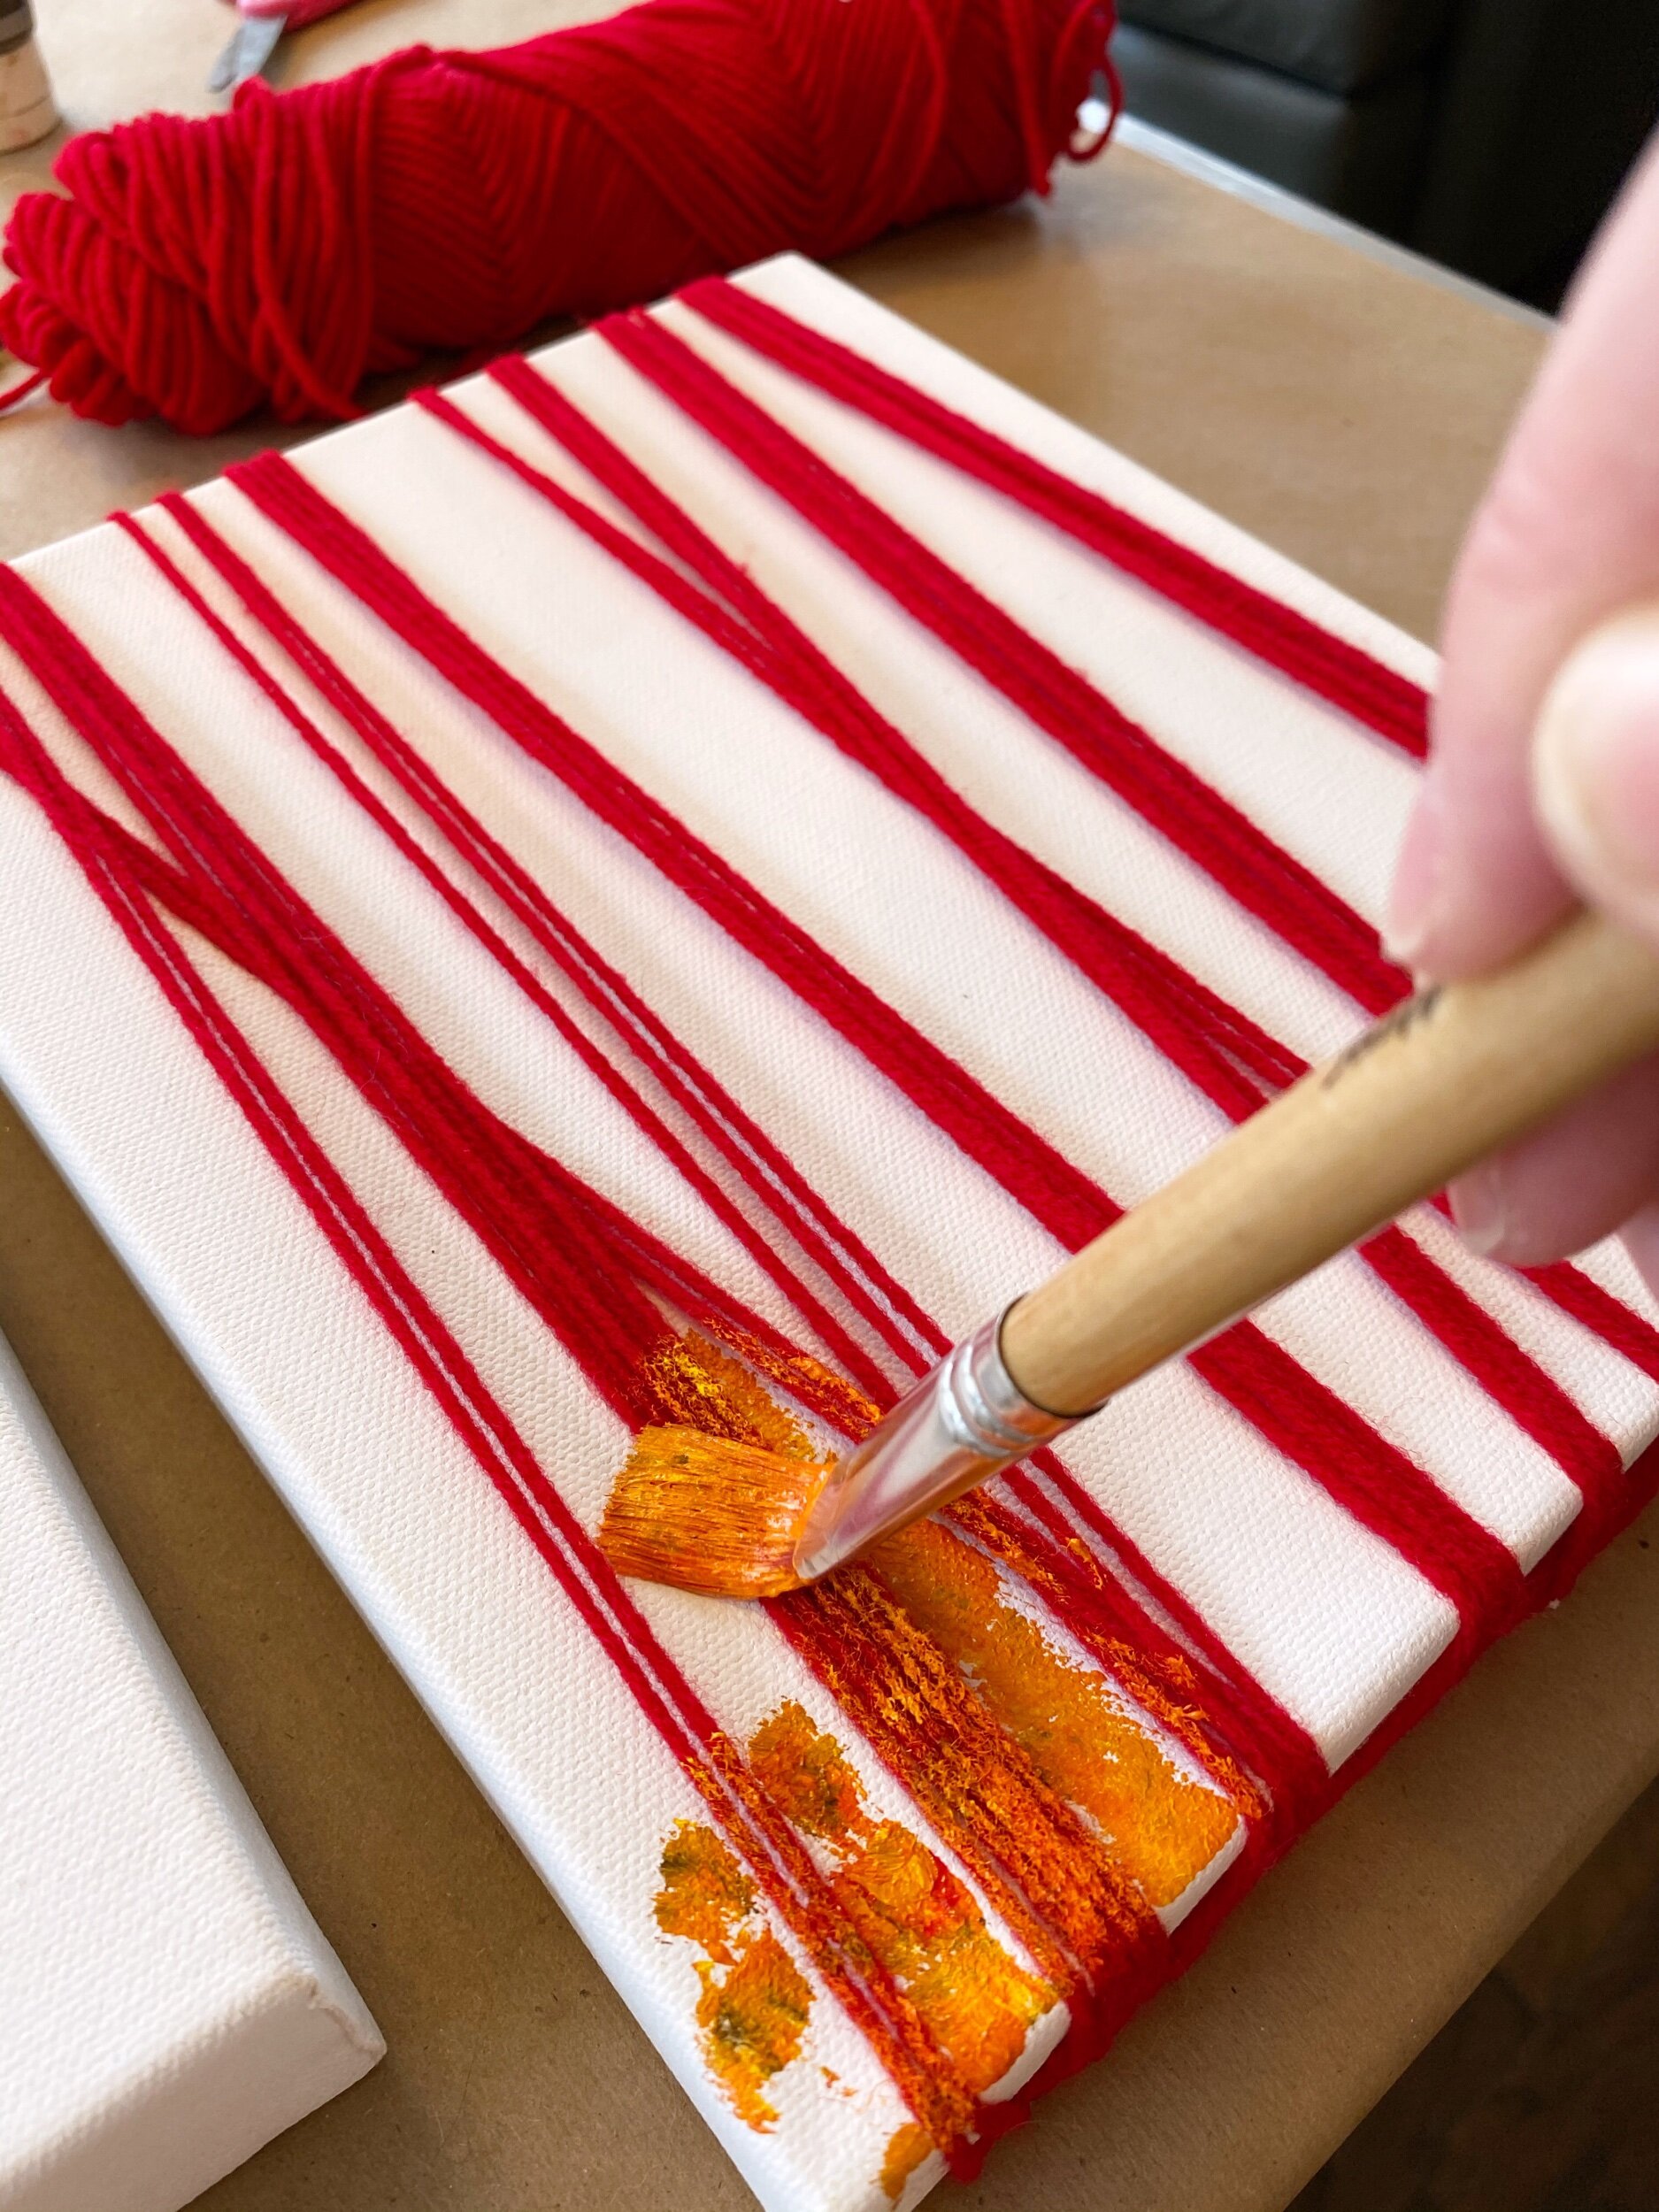
Impasto is a painting technique where the paint is laid on the surface thickly so that you can see the texture of the brush strokes. It gives a lot of dimension to the canvas. Van Gogh often used this technique in his paintings. Sometimes he even used his fingers to spread the thick paint around! His painting “The Starry Night” is one of the most well known paintings in the world and is a great example of impasto painting with the thick swirls of paint.

Vincent Van Gogh - The Starry Night - June 1889

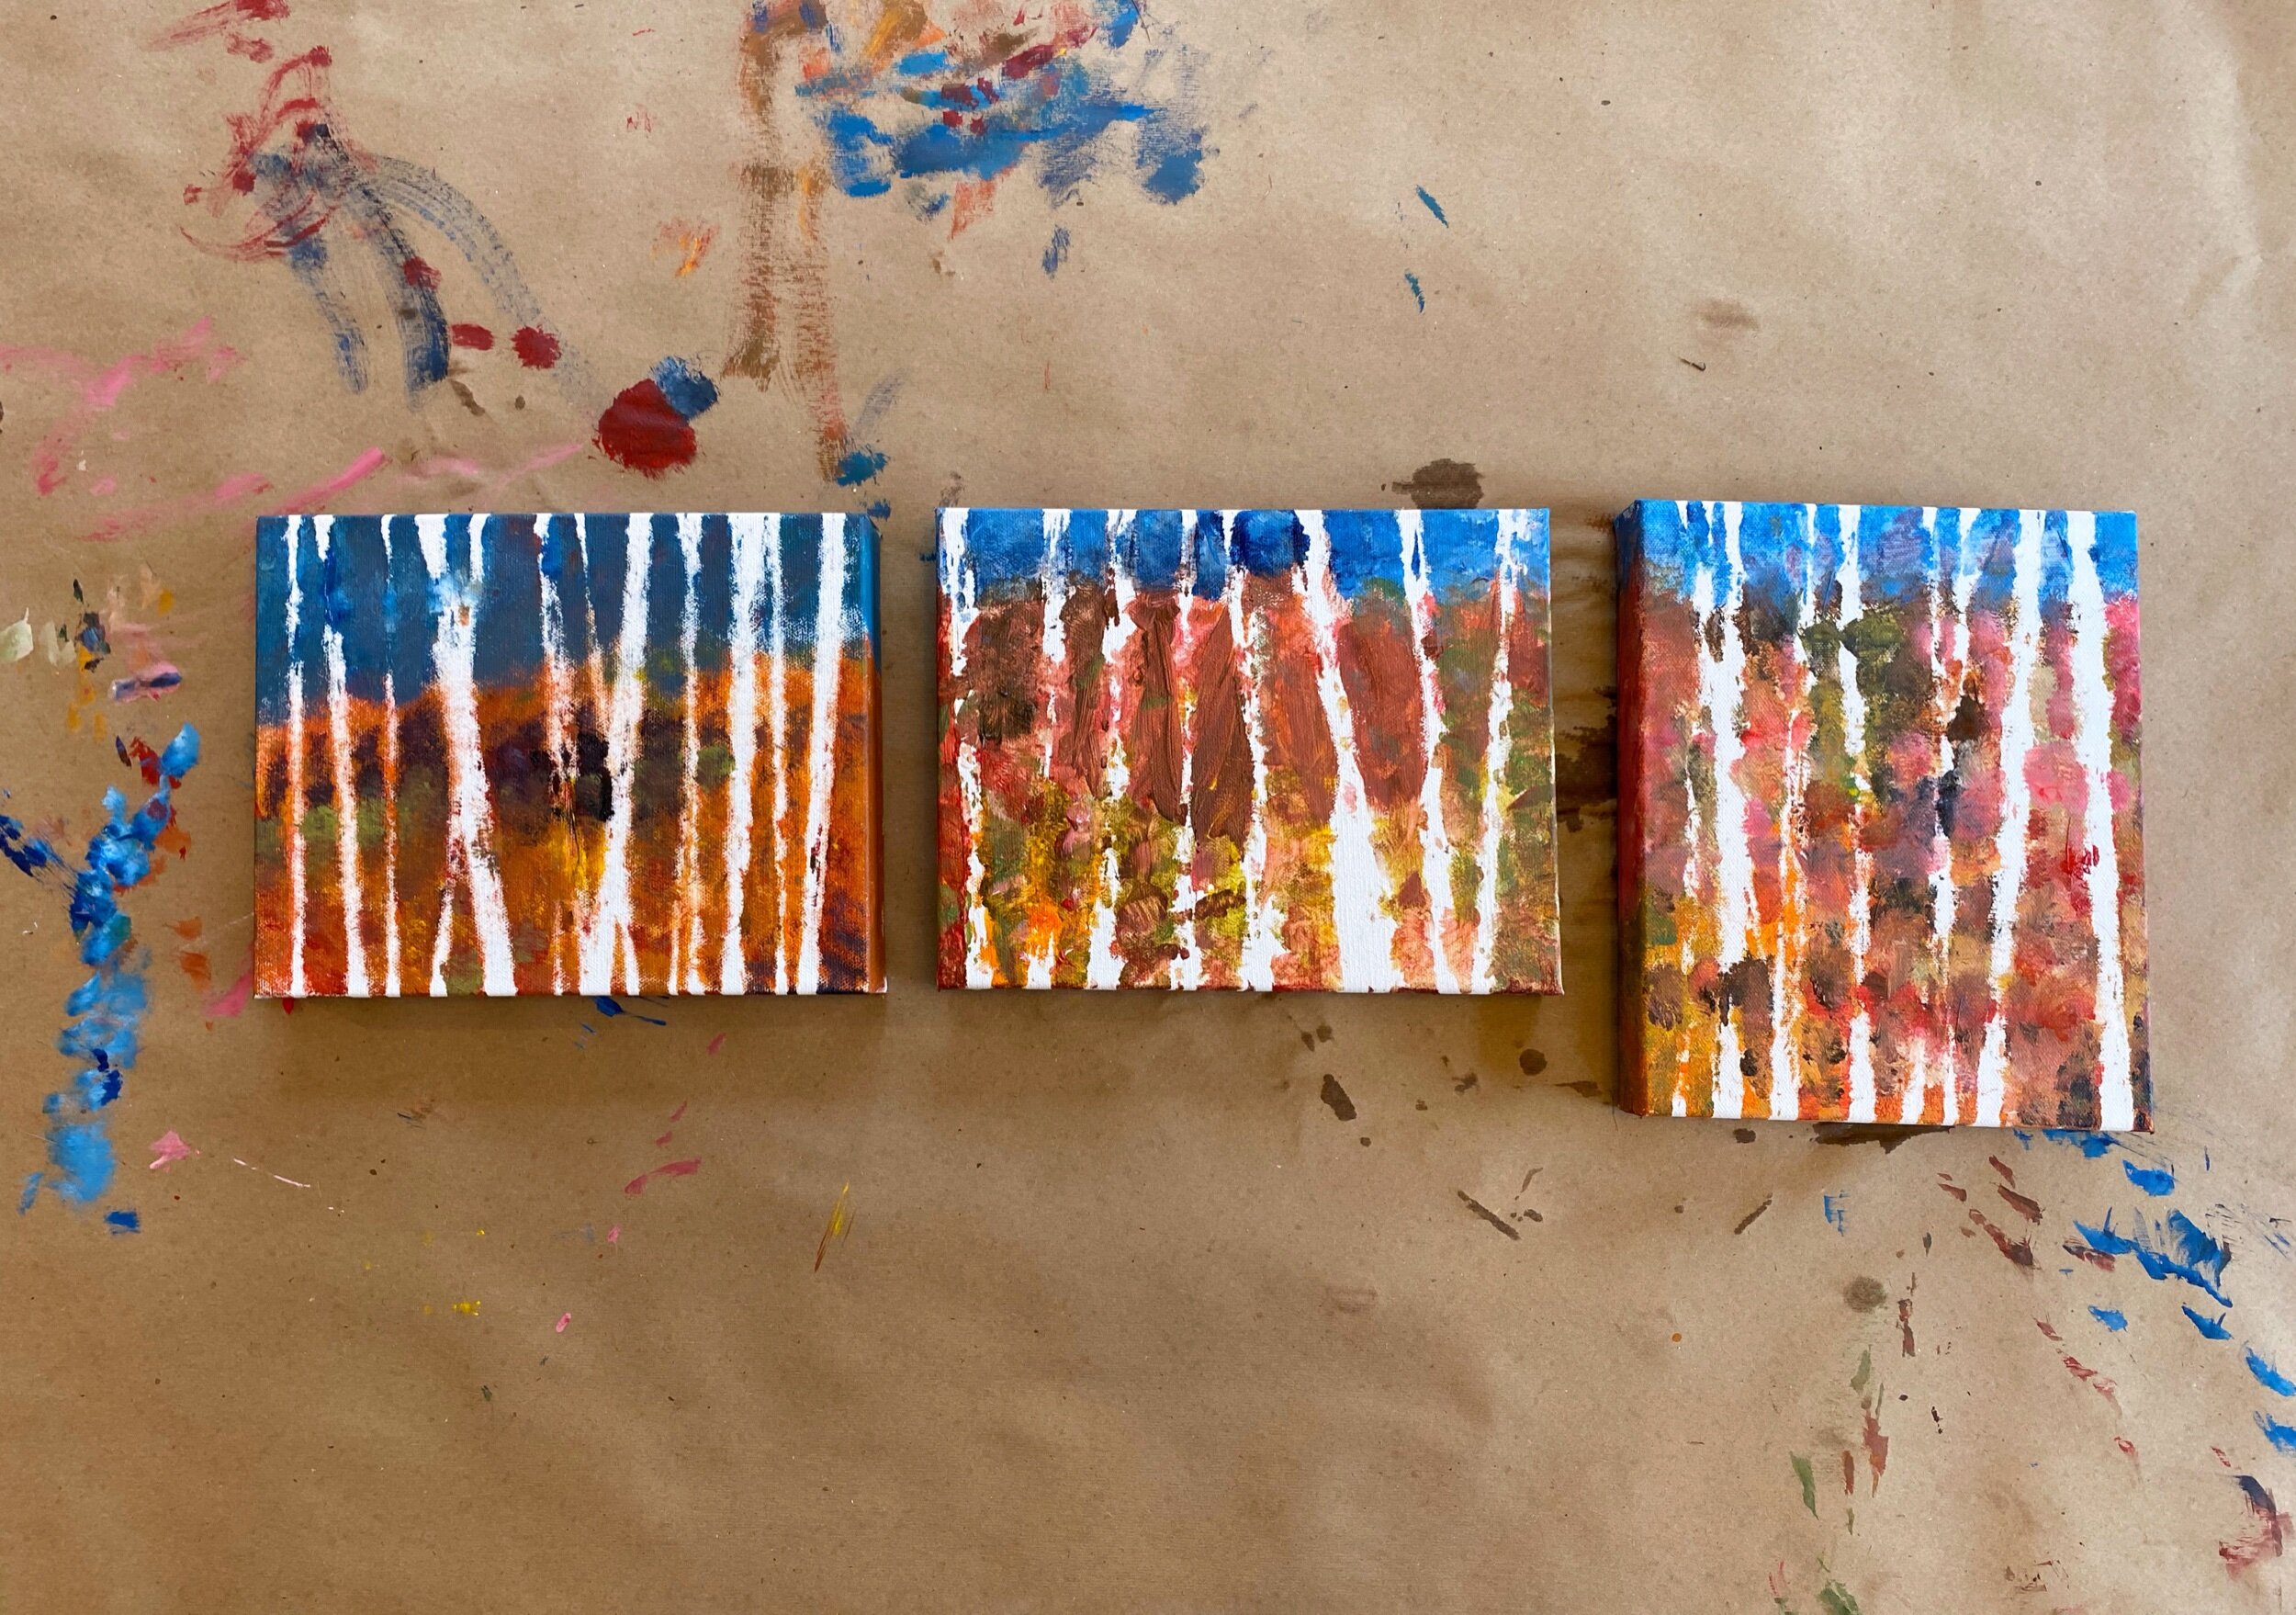
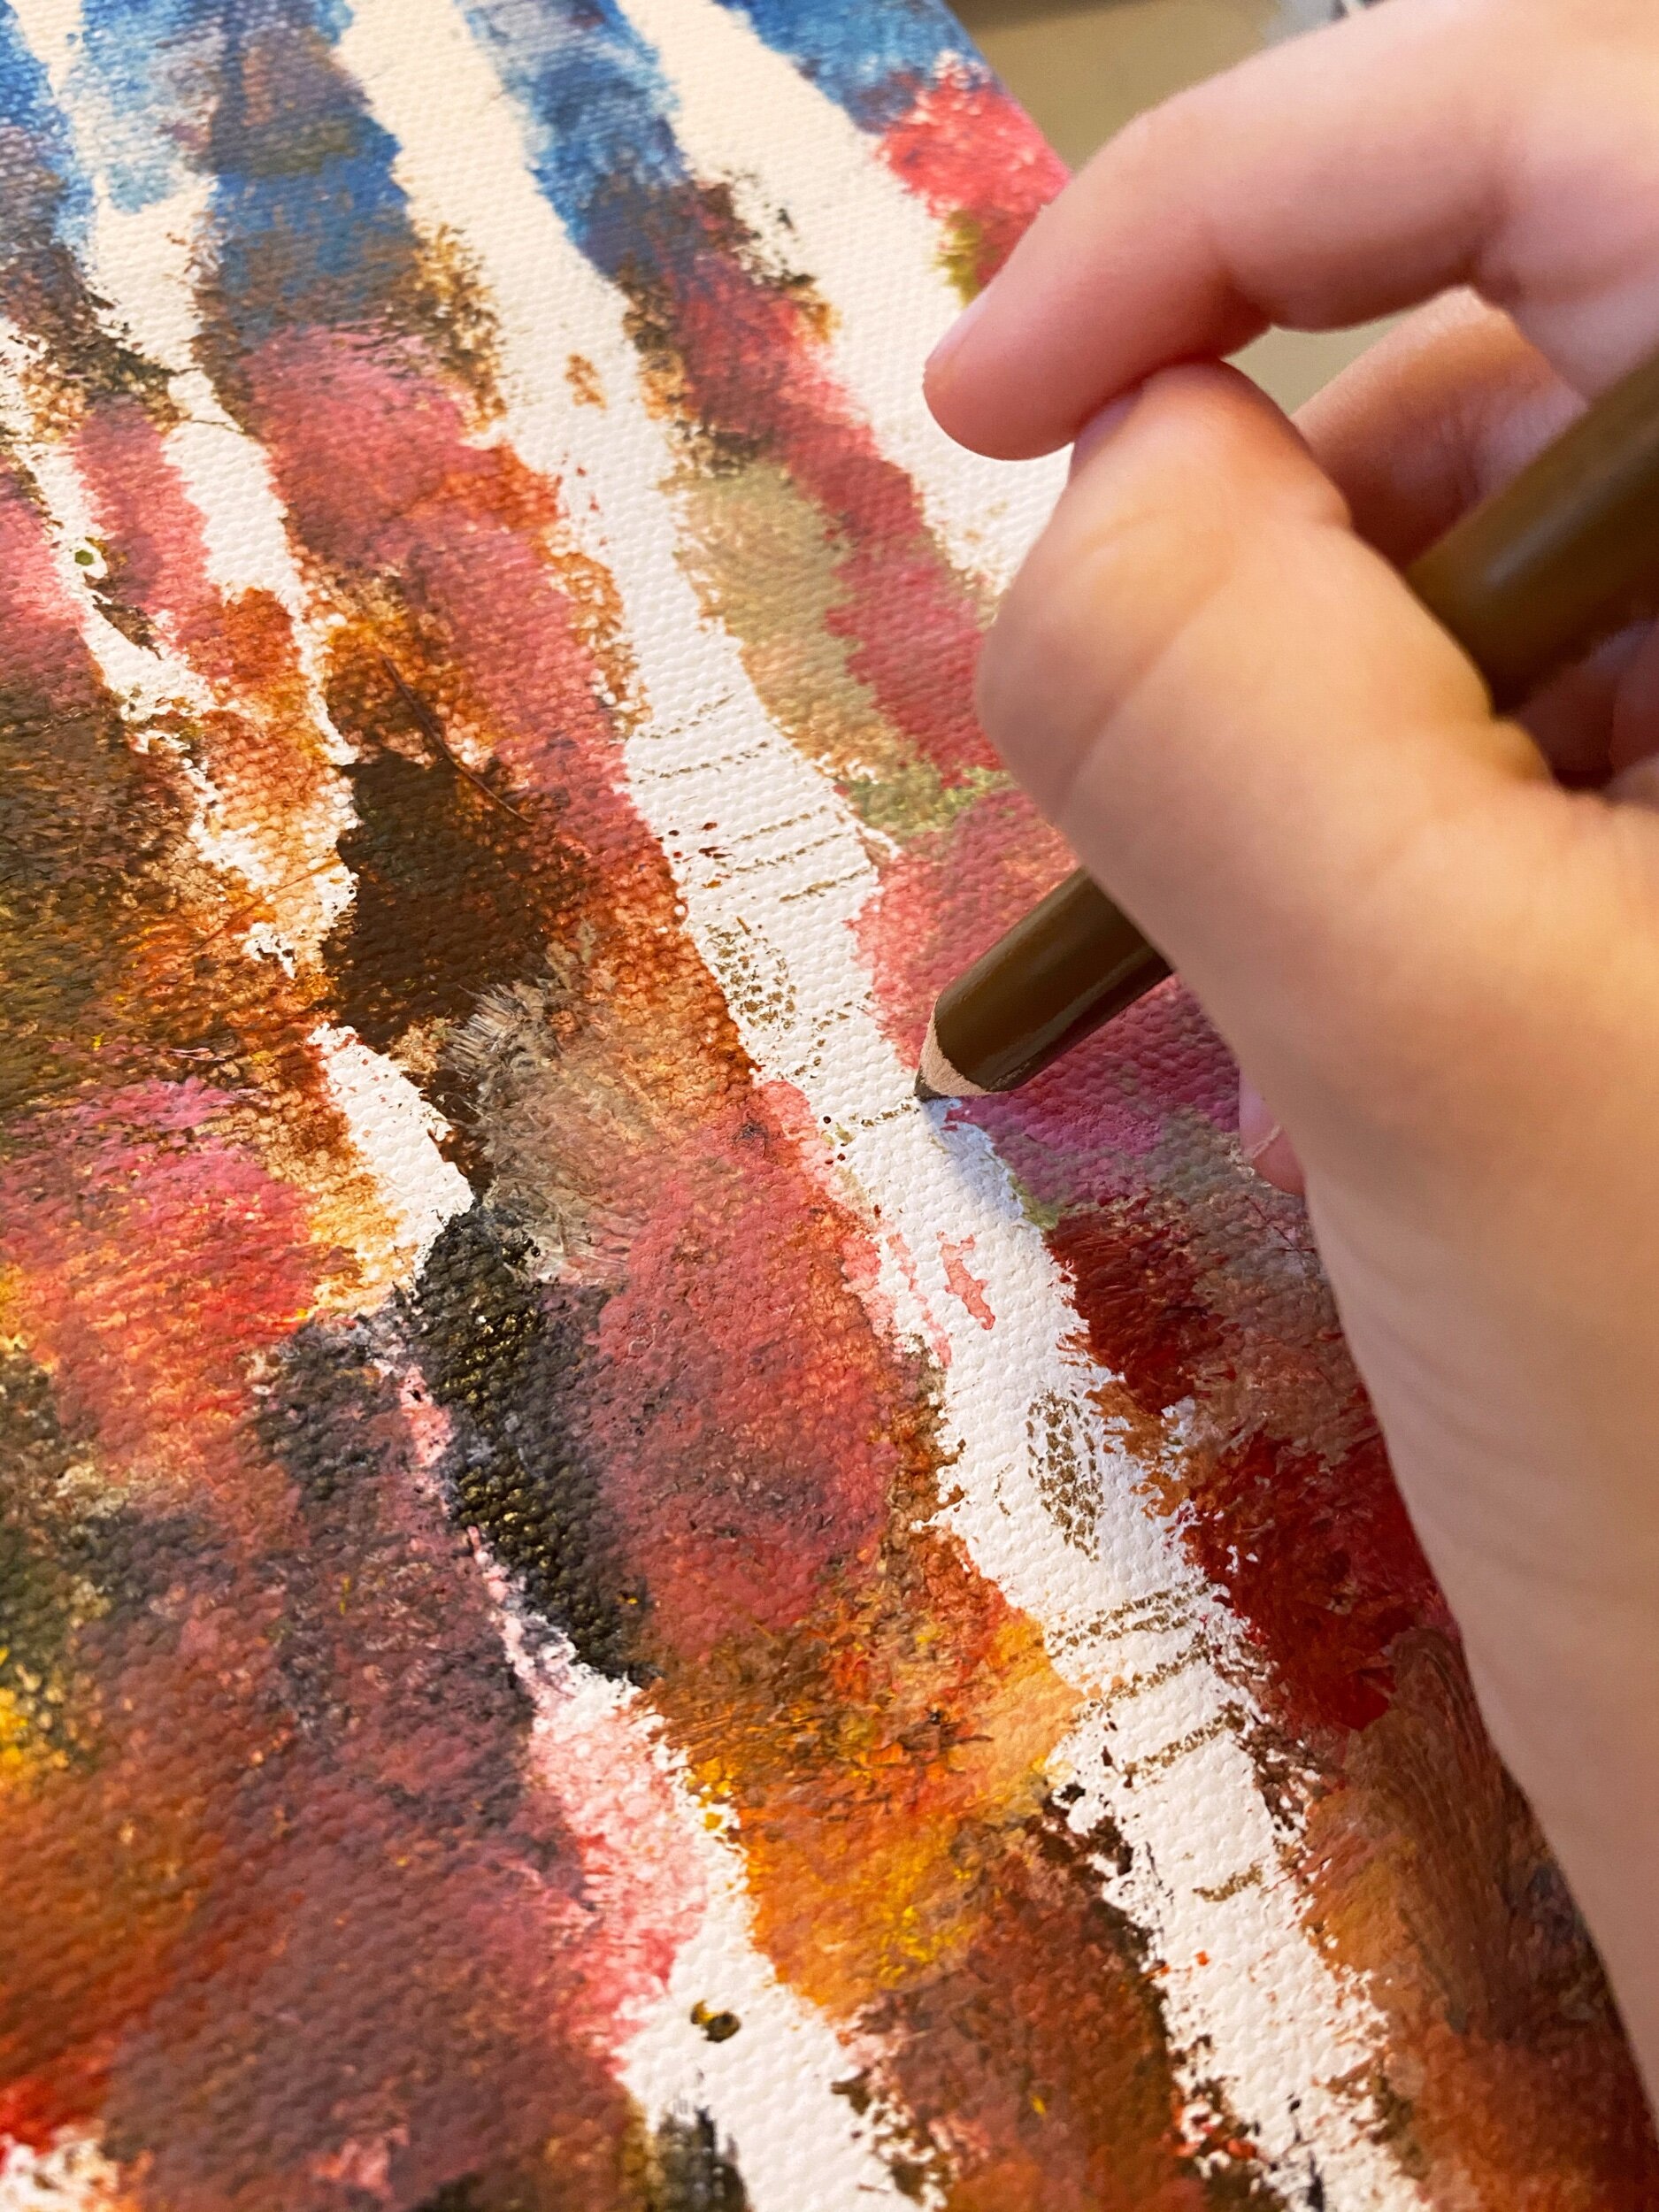
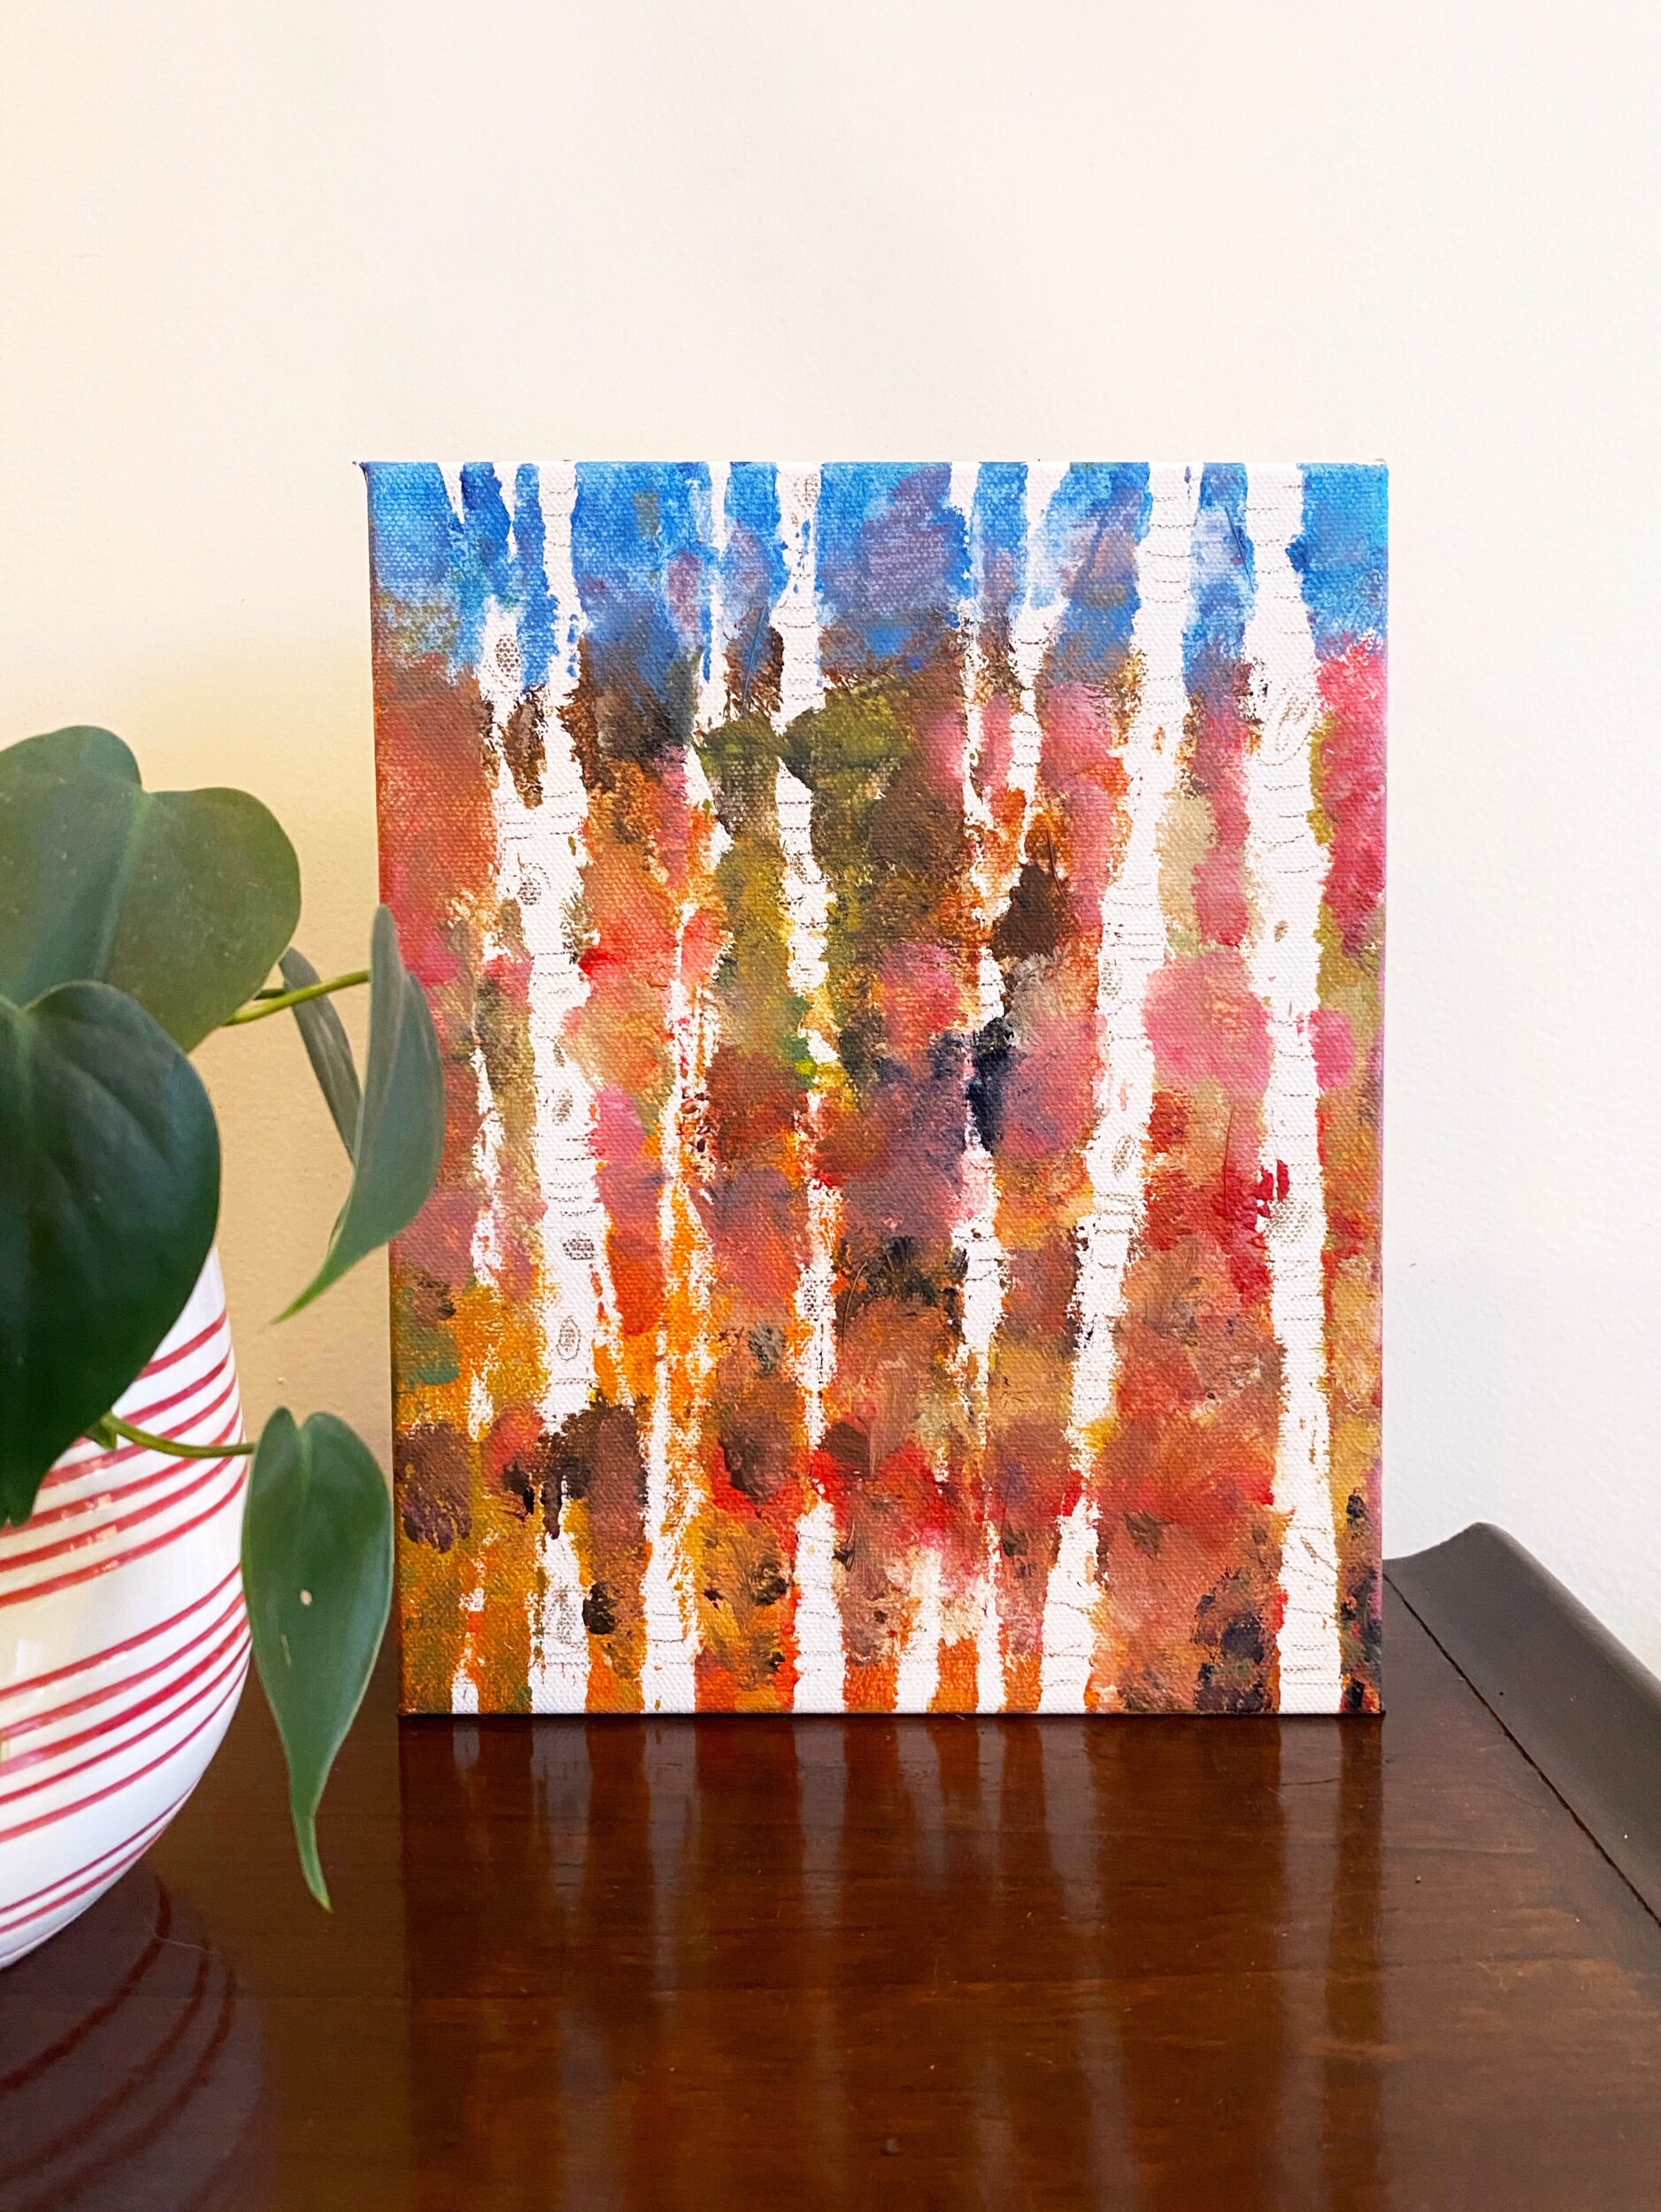
For this project with my kids, we used canvases, extra heavy acrylic gel, acrylic paints, and a stiff bristled brush.

Mixing the heavy acrylic gel into the acrylic paints gives them a nice thick texture. The stuff bristles on the brush make it easier to move the thick paint around your canvas. We painted a swirly night sky like Van Gogh using the brush and our fingers. I told the kids to pay attention to the direction of the brush strokes and how the colors of the moon and stars glow into the sky with strokes of yellow and white.

If you want to learn more about Van Gogh (and a lot of other artists), I recommend Vincent’s Starry Night and Other Stories by Michael Bird!

Recycled Sculpture Like Louise Nevelson's

Happy Earth Day! I decided to make use of some things in our recycling bin and put together this project for my kids. They had so much fun collaborating to build it.

I based this project on the work of Louise Nevelson. We read about her in Women in Art by Rachel Ignotofsky before we got started. My kids thought it was so cool that Louise would collect “junk” from the streets to create her famous sculptures.

IMG_4074.jpg

For our sculpture, I gathered up empty boxes, leftover supplies from other craft projects, and black paint. I used a hot glue gun to glue their pieces together after they arranged them.

IMG_4073.jpg
The kids arranged everything how they wanted, I glued it together, then they painted everything black.

The kids arranged everything how they wanted, I glued it together, then they painted everything black.

Finished creation!

Finished creation!

A little bit messy, but so simple and fun! They loved painting it and seeing how different it looked when it was all black. If you create one I’d love to see it! You can tag me on Instagram @ninabeldesigns!

LNSculpture.jpg

Paul Cezanne - Still Life

Paul Cezanne painted lots of still lifes, especially fruit. (A still life is just an arrangement of everyday objects.) Before we started painting, I talked with my kids about perspective, Post-Impressionism, and Cezanne’s use of dark colors. You can look at his brush strokes in his paintings and his almost solid outlines of objects. Info sheet is available at the bottom!

Still Life Painting

IMG_1487.jpg

Materials:

Objects for a Still Life

Canvas (or paper)

Pencil

Paint

Brushes

Water

Instructions:

1 - Set up your still life! You can choose everyday items from around your house. We used a bowl and fruit for ours. Some other ideas are flowers, toys, or blocks.

2 - Find the best spot to sit and paint your still life. Your perspective will change as you look at it from different angles. Once you find a view you like, sketch out the still life in pencil.

IMG_1489.jpg

3 - Paint your still life. Cezanne liked to simplify objects into basic shapes. See what basic shapes you can find in your still life.

IMG_1494.jpg

4 - You can use your imagination for the background. You don’t have to paint exactly what you see.

IMG_1496.jpg

5 - Make sure to sign your name at the bottom! You can tag me on instagram @ninabeldesigns.

Beatrix Potter - Nature Paintings

Beatrix Potter is well known as the author of The Tale of Peter Rabbit which she illustrated herself with beautiful watercolors. A lot of people don’t know that she also painted scientific nature paintings. She created hundreds of detailed paintings of fungi. She even studied them under microscope!

Watercolor of fungi by Beatrix Potter

Watercolor of fungi by Beatrix Potter

We talked about how Beatrix Potter mixed realism and fantasy in her illustrations and then we painted some Easter cards to mail to our family. Since we are all staying at home, now is a great time to send some mail out. It’s always fun to get an actual letter!

Here are a few pictures of the bunny and mushroom cards we made.

IMG_2279.jpg
IMG_2307.jpg

Then we studied nature and made our own nature paintings!

Watercolor Nature Study

Materials:

An item found in nature (mushroom, plant, flower, pinecone, shell etc)

Pencil

Paper or Sketchbook

Watercolors

Brush

Water

Magnifying Glass (if you have one)

Instructions:

1 - Find an interesting piece of nature in your yard or home and study it closely. Look for little details you might not notice if you didn’t pay close attention.

IMG_2339.jpg

2 - Lightly sketch the object on paper. Try to get all the little details! You sketch the entire object and then sketch a magnified view of a section of it if you want.

3 - Paint your sketch with watercolors. If you water down the paint, you can paint nice and light so that you don’t cover up your lines. Watercolors bleed into each other when wet. If you don’t want colors to mix, let one dry before you paint another right next to it.

IMG_2369.jpg
IMG_2360.jpg

4 - When your painting dries, go over your lines with a fine tip pen. Make sure to add your name and the date so you remember when you drew it. You can write a description at the bottom if you want. If you enjoyed it, keep going and start a collection of nature paintings! I’d love to see pictures. Tag me on Instagram or Facebook.

IMG_2366.jpg
IMG_2374.jpg

Salvador Dali - Melting Clocks

This project was inspired by Salvador Dali’s painting The Persistence of Memory. While I worked on these with my kids, we talked about surrealism and imagination. The info sheet on Dali is at the bottom of the post.
This project was a little bit harder than the others I’ve posted and younger kids will probably need some help. My kids had a lot of fun making them though! The clocks look so cute melting all over our shelves.

Salvador Dali The Persistence of Memory

Salvador Dali The Persistence of Memory

IMG_1702.jpeg
IMG_1584.jpeg

Melting Clocks

Materials:

Air Dry Clay

Rolling Pin

Brushes

Paint

Water

Sharpie

Aluminum Foil (or something else to shape your clock on)

Instructions:

1- Roll your clay into a ball with your hands, then roll it out with your rolling pin into an oval shape that’s about 1/2” thick.

IMG_1586.jpeg
IMG_1594.jpeg

2 - You might see little cracks start forming on the edges of the clay. You can dip your fingers into water and smooth them out.

IMG_1597.jpeg

3 - Ball up some foil or find something else to drape your clay on. Form it into a fun curvy shape, then leave it in a safe spot to dry. Ours took about a full day to dry.

IMG_1603.jpeg
IMG_1607.jpeg

4 - When it’s dry, paint the entire front white. You can use other colors to shade it for more dimension if you want. I blended in some blue and grey to areas of mine.

IMG_1644.jpeg

5 - Paint a frame around the outer edge. It can be any color!

IMG_1646.jpeg
IMG_1654.jpeg

6 - Next add your clock numbers! We divided our clocks up with little marks first to make it easier. (One at the top, bottom, left, and right to divide it into quarters. Then 2 more marks within each quarter.) I painted the numbers onto my clock but my kids found it easier to use a marker. The great thing about these is that they are meant to look wonky so the numbers don’t need to look perfect. I love the sideways 8 and upside down 7 on my 5 year old’s.

IMG_1650.jpeg
IMG_1665.jpeg

7 - Next put a dot in the very center of your clock and draw or paint on 2 clock hands. You can add a little shadow next to the hands if you want.

IMG_1662.jpeg

8 - You can also add extra details to it if you feel like it. My 11 year old added a bee to hers. Then all that’s left is to find a good spot for it! I’d love to see your finished clocks. Send a picture to me on Instagram or Facebook.

IMG_1688.jpeg
IMG_1740.jpeg

Gustav Klimt - Beech Forest Project

Since we are all stuck at home for a while, I put together some little art history lessons and projects for my kids. I thought it would be fun to share them here for anyone interested.

For our first one we talked about Gustav Klimt and looked at some of his paintings. I made an info sheet on him that is available at the very bottom of this post. More information and photos of his paintings can be found here.

Our project was a yarn resist painting of a forest. Klimt painted a few landscapes of birch and beech forests while at Lake Attersee. I found the yarn painting idea on Pinterest. If anyone paints one I’d love to see! Message a photo to me on Instagram or Facebook. Here’s the tutorial!

IMG_1128.jpeg

Yarn Resist Beech Forest

Materials:

Canvas

Yarn

Brush

Paint

Colored Pencil

Instructions:

IMG_1134.jpeg

1 - Wrap yarn tightly around your canvas overlapping lots of strands for thicker trees and fewer for thinner trees. This will add dimension since trees closer to you look bigger and further trees look smaller. It looks more natural if the lines aren’t all perfectly straight! Tie the yarn ends together at the back and adjust the yarn lines to be how you’d like them.

IMG_1131.jpeg

2 - Start painting! You want to use the brush to dab the paint (not strokes!) so that you don’t move your yarn. Dab the paint right over the yarn. We used mainly golds and greens for the ground and blues for the sky. Use a variety of colors and make sure not to blend too much so that you can seen texture and colors for your forest floor.

IMG_1138.jpeg
IMG_1140.jpeg
IMG_1143.jpeg

3 - Once you fill up your canvas with color, let it dry. This is the fun part! Cut across all your yarns strands at the back and pull them off. Now you should have a forest of white trees!

IMG_1145.jpeg
IMG_1156.jpeg

4 - The last step is to add the detail. Use a dark colored pencil to add knots and lines to your trees. Now you have your own Beech Forest!

IMG_1169.jpeg
IMG_1184.jpeg